Homemade Botanical Gin

We get a lot of questions about how to make gin from our Kitchen Alchemist’s Botanical Gin Kit, so we made this guide to walk you through the process from beginning to end. We intended for this to be a complement to the recipe card you’ll get in the kit, but it isn’t a replacement, so make sure you have the recipe handy throughout the process.
The best things in life take some time, and infusing gin is no exception — it takes about 8 days to transform some botanicals and a bottle of vodka into gin, so plan ahead! The good news is that while you’ll need to plan for some hands-on time every day, most days this only amounts to a few minutes to shake up the infusion. You’re just over a week away from drinking a gin and tonic made from your own infused gin, so let’s get started.

Day 1: Prep Juniper Berries + Vodka
Generally speaking, juniper should be the most prominent flavour in gin, so we give the juniper berries a head start in our infusion. To start out on your gin-making experiment, you’ll need one of our Botanical Gin Kits, a mortar and pestle or a heavy knife, and a 750-ml bottle of vodka. You don’t need a premium vodka for this, but you should choose one that you’d be willing to drink. Overproof vodka (50% alcohol by volume) is best if you can find it, but it can be difficult to purchase in some areas.
Open your gin kit and take everything out of the jar. Wash and dry the jar. Keep the juniper berries out, but find a safe place to keep the rest of the botanicals for a few days.
Tip about one quarter of the juniper berries into your mortar. Crush them lightly with the pestle until they’re slightly cracked. Scrape the crushed berries into the jar and repeat, working in batches until all of the juniper berries have been crushed and transferred to the jar.
If you don’t have a mortar and pestle, you can crush the juniper berries on a cutting board, using the flat side of a heavy knife.
Now add your vodka to the juniper berries in the jar. Keep the empty vodka bottle — it will come in handy later. Screw the lid on the jar, and place it in a cool, dark spot.

Day 2-3: Infuse
Once a day, take the jar out and give it a good shake. You’ll notice that the infusion changes colour as the alcohol begins to extract compounds from the juniper berries.

Day 4: Add Botanicals
Locate the botanicals you set aside on Day 1. Referring to the recipe card, measure the botanicals into your mortar. You can adjust quantities of different botanicals at this stage, but exercise restraint — it’s easy to add more of something over the next few days, but difficult to bring an overpowering flavour back into balance.
Crush the botanicals lightly with the pestle to begin releasing the aromatic compounds. Add the crushed botanicals to your jar of vodka and juniper berries, and shake it up. Return the jar to its cool, dark spot.

Day 5-7: Infuse
As the gin continues to infuse, make sure you’re shaking the jar at least once per day. You can also taste the gin as it infuses, and add additional botanicals if you’d like a particular flavour to be more prominent.
Day 8: Filter and bottle
We recommend a two-step filtration process to remove as many fine particles as possible from your gin. It’s a bit time-consuming, but worth it for the smooth final product. You’ll need your jar of infused gin, a funnel, a clean bottle (or two), cheesecloth, and coffee filters.
The first round of filtering is done with cheesecloth. Line a funnel with a few layers of cheesecloth and place it over the mouth of a clean bottle. If you still have the empty vodka bottle, it’s perfect for this job. Slowly pour the gin into the funnel — you may find it helpful to transfer the entire contents of the jar into a large liquid measuring cup first, as it’s easier to control your pouring.

If needed, empty the solids from the cheesecloth periodically, wrapping the cloth into a tight ball and squeezing out any excess liquid before discarding the solids. When you have only solids left in the jar or measuring cup, scrape them into the cheesecloth and squeeze out the last of the liquid. You should end up with a mostly-full bottle of slightly cloudy, brown or yellow liquid. Discard the cheesecloth.
Round 2 of filtering uses coffee filters to get a nice, clear final product. It takes about an hour to complete, and will require you to regularly monitor and change the filters. Line the funnel with a coffee filter. Depending on the type of filter you're using, you might have to fold it a bit to make it fit the funnel. Place the lined funnel over another clean bottle, or the jar that you used for infusing (wash it out first). Pour a small amount of your gin into the filter. Wander away for five minutes, then come back and check on your setup — if the filter is empty, you can add a bit more gin and repeat.
You may, however, find that there is still liquid in the filter, but there is only a very gradual drip from the funnel. This is because oils from the botanicals can quickly clog up the filter pores. You'll need to swap in a clean filter and carefully transfer the unfiltered gin into it. Keep doing this until all the gin has been filtered. It's a bit tedious, but keep at it.

This stage can also be done with a charcoal water filter that you reserve for the purpose. This method is faster and easier, but it's definitely more expensive. If you choose to do this, please follow the instructions that come with the filter to prepare it for use.
At the end of the second filtration, you should end up with between 650 and 700 mL of gin that is tinted quite a dark brown colour. Most commercial gins are colourless because they are distilled to clarify them after infusing, but home kitchens aren’t set up for that. Some artisan gins are coloured (for example bright yellow or purple) from a second round of botanical infusion that happens after an initial infusion and distillation.
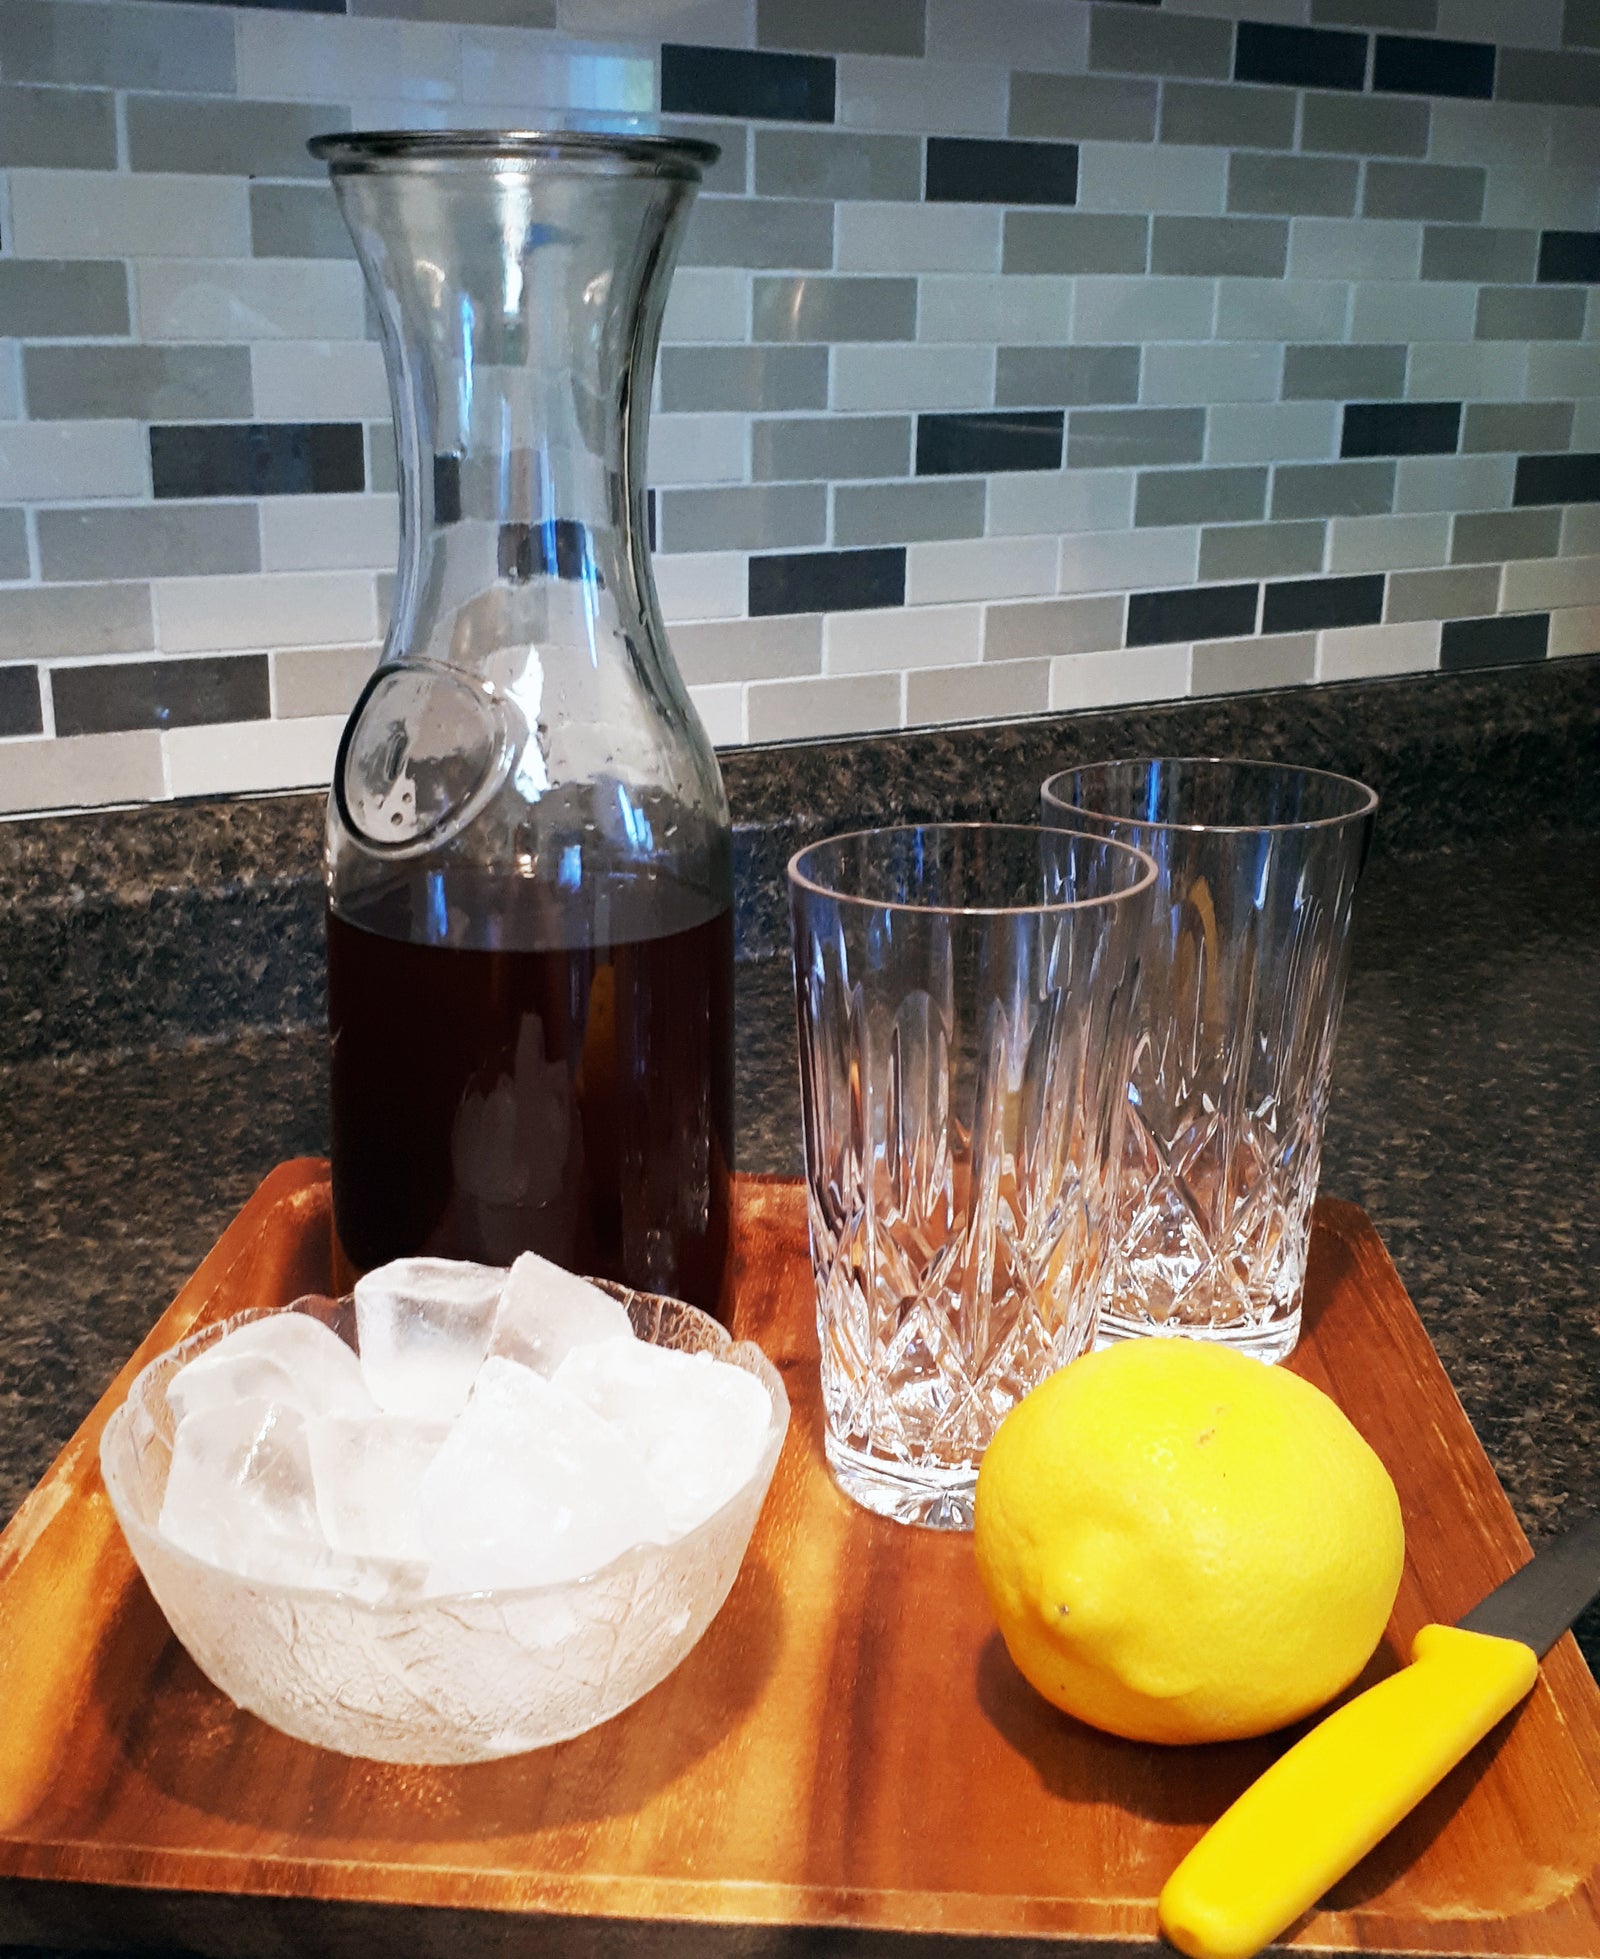
No matter the colour, your gin is still delicious. Sample a small amount straight up to get a sense of the flavour profile, then keep it handy for your favourite cocktails.

Leave a comment
Comments will be approved before showing up.